
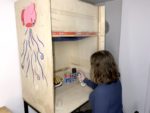
Very Sucky — Mini Kirby Fume Extractor

Charcoal fume extractors of all shapes and sizes have been a staple project in makerspaces for many years. Make: even has its own mini fume extractor by Marc de Vinck (Volume 19) with a video by Kipkay, now there’s a throwback! Built into an Altoids tin and featuring a 40mm fan and a basic circuit, this little device was rough but functional.

Since then, 3D printing has come into popularity and with it a much greater range of distinct designs appeared. I don’t think I’d be wrong to assume that the rise of 3D printing has also bought with it a rise in casual solderers — makers who, like myself, don’t stray much further in their electrical endeavors than adding a few LEDs to a project, and maybe a voltage step-down if I’m feeling bold.
The problem
Being a seldom solderer, a full-scale fume extractor just isn’t something I have the space or money for. Thankfully modern non-leaded solder fumes are not as horrible as older lead-based solders, but breathing fumes is still not advisable. Initially I went with one of the cheap boxy fume extractors you get on eBay. While decently functional, this model was bulky, making it a pain to work around, and even worse if you have to film what you’re doing (not an everyone problem of course, but it was annoying for me).

I wanted something small, convenient to set up, and stored in such a way that using it would almost be easier than not. Naturally, I turned to 3D printing. Freed from the need to force parts into less-than-ideal enclosures, 3D printed models can focus more on new features that would have been impractical or impossible without the new technology. Designs with built-in USB charging, articulated arms, and novelty enclosures are just some of what’s available for free on sites like Thingiverse and Printables.
Despite the variety, I couldn’t find the perfect one for me. The existing models used mostly fans around 100mm, but I wanted something even smaller: 40mm like the old Altoids tin designs used. This wasn’t for nostalgia, but practicality. The helping hands I used had a third arm which I thought would be perfect to mount a small fume extractor on, but nothing really fit the bill. There were larger extractors on arms, and I could scale one down, but I would much rather release a custom solution.

The idea takes shape
Getting to brainstorming, I had a clear idea of what I wanted to make. It’s really just a fan on an arm. My job was mostly to make it look pretty. During this brainstorming process I considered a range of design concepts and styles, many of which were influenced by the Portal video game series. Looking into my sketchbook you can just about make out some of the design features of a Companion Cube, which was my number one option for a time. But then I had an idea: What about Kirby?!
A popular Nintendo character, Kirby is a pink blob who defeats enemies by inhaling them. The idea met essentially none of my original design goals but was just too perfect not to consider. A quick Google showed me however that I wasn’t the first; there were a few designs already available. I would’ve scrapped the idea here but looking at the files on Thingiverse, I saw room for improvement.
Not to say that any of these designs were bad, but they were all single-part prints, more like half a Kirby, since they print flat on their backs and need support for the space where the fan is inserted. They also needed a decent bit of painting to add extra features; again fine, but I prefer to print parts in different filament colors as it makes a good result more accessible.

I hopped onto Fusion 360 and got to designing. I stayed with the 40mm fan and 10mm charcoal filter as I had originally planned. Moving forward I was reminded once again that I really should learn Blender if I want to do more projects like this. Even creating basic “organic” shapes like Kirby’s feet took a few tries, but I got a design I’m pretty happy with in the end. The functional elements came together quickly but I spent a lot of time trying to match the proportions to images of the character to get it as close as possible.
Project Steps
Build It
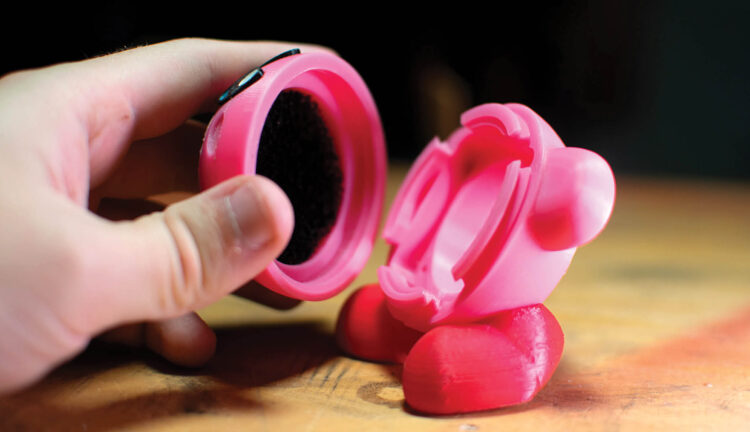
The design prints in several parts. The arms and eyes both glue onto the main body and have mating holes to make correct installation easy.
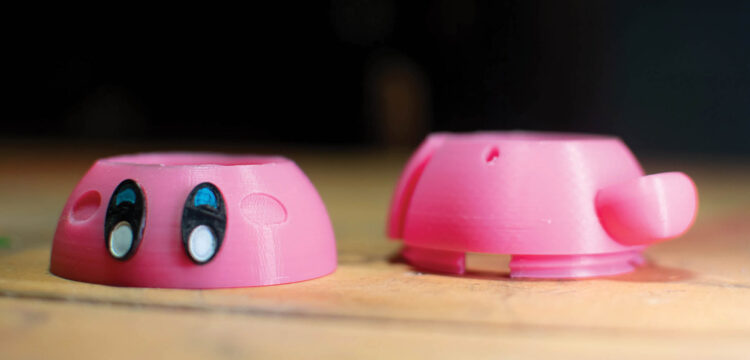
The eyes have recessed portions to add pupils, with a dab of paint or even permanent marker. The feet glue onto a connecting piece which then slots into a dovetail in the back. This dovetail allows Kirby to tilt up and down to a more ideal angle.
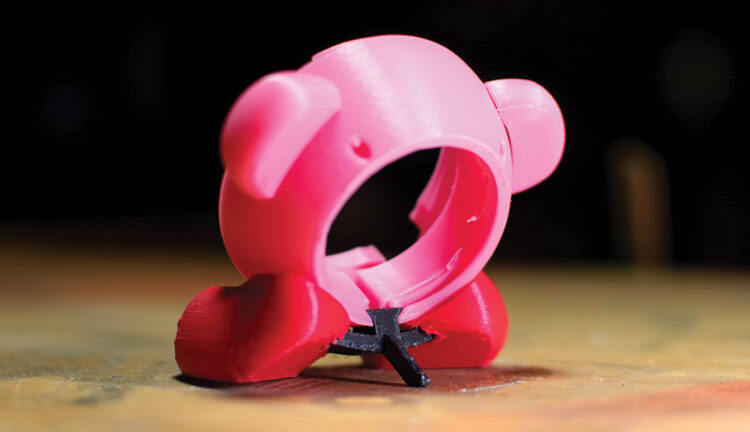
Finally the fan is press-fit in place and the filter installed, and the two halves thread together without any hardware.
Conclusion
I’d be lying if I said this wasn’t one of my favorite things I’ve made. I almost released just Kirby, but I still wanted the functionality of the original idea. So I went through a similar process with the same hardware but in a very different, and admittedly much more functional, arm-mounted package.
Interestingly I got a lot of comments saying it reminded them of GLaDOS, so it seems some of my initial Portal brainstorming made it through subconsciously. These were really fun projects to work on and the community reaction was great. Again, these are the “better than nothing” option — if you solder a lot, proper extraction is recommended. But if you just want something small, the files are available for free on Printables and you can learn more in my YouTube video.

More sucky projects to make:
Altoids Tin Mini Fume Extractor — The battery-powered mint tin version by Marc de Vinck from Make: Volume 19.
DIY Fume Hood — Full-on fume management for painting and gluing, by Téa Forest from Make: Volume 80.
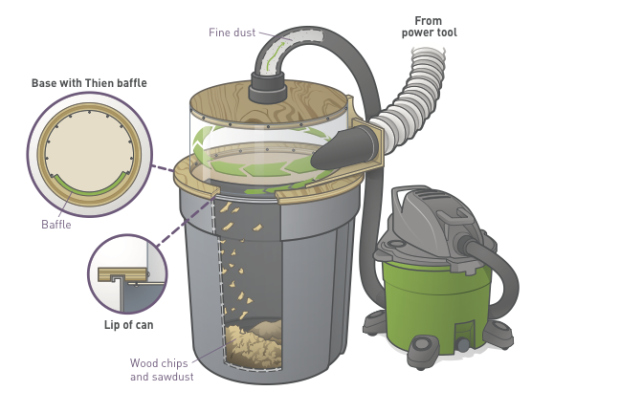
Cyclone Dust Separator — Capture the mess before it’s made, with this cyclonic see-through dust collector by Raymond Mowder.


Leave a Reply